Roymall Newsletter Subscription Form
Take 20% off your order now - Get early access to deals and sales
Home>mall>Electronics
0Me gustó

Módulo de bobina Tesla mini DIY Geekcreit® sin ensamblar, 15 W CC, 15-24 V, 2 A, kit electrónico de altavoz de plasma

4.01074
$2.99 /$3.65
  • *Name:

  • *Email:

  • *Phone:

  • *Quantity:

  • *Content:

  • Attachment:

    Supports JPG, JPEG, PNG, PDF, EXCEL, WORD, RAR, ZIP, 7z formats

$2.69 /$3.65
Shipping to: United States | Express delivery: 7-12 business days | Standard delivery: 15-25 business days

Pago seguro garantizado

Regalo gratis
Regalo gratis con cualquier compra

Política de envío
Envío estándar gratis en pedidos superiores a $9.9
Política de devolución
Los artículos devueltos serán aceptados dentro de los 40 días posteriores a la recepción de los productos. Los artículos personalizados no se pueden devolver ni cambiar. Los artículos comprados con una tarjeta de regalo electrónica solo son intercambiables; no se aplican reembolsos.

Regalo gratis

Bienvenido a Roymall, tu sitio web profesional para comprar regalos de tiendas departamentales premium. Valoramos y apreciamos mucho tu apoyo, y queremos expresar nuestra gratitud agregando un toque extra de emoción a tus compras. Cuando compras con nosotros, no solo disfrutas de productos de alta calidad que mejoran tu estilo de vida, sino que también recibirás un regalo exclusivo con cada pedido que realices. ¿Listo para explorar nuestra colección y encontrar tus regalos perfectos? Navega por nuestra selección de artículos de tiendas departamentales premium, realiza tu pedido y espera con ansias la emoción de recibir tu regalo gratis junto con tu compra.

Política de envío

Trabajaremos duro para entregarte los artículos después de recibir tus pedidos y asegurarnos de que lleguen de manera segura. Los detalles de entrega se proporcionarán en tu correo de confirmación.En la mayoría de los casos, los pedidos se procesan en 2 días. En circunstancias especiales, se retrasará de la siguiente manera: Cuando realices un pedido el sábado, domingo o días festivos, se retrasará 2 días.Normalmente, se necesitan de 5 a 7 días hábiles (de lunes a viernes) sin verse afectado por retrasos en los vuelos u otros factores ambientales.Debido a que nuestro servicio de envío es mundial, los tiempos de entrega dependerán de tu ubicación, por lo que puede tardar unos días y te pedimos paciencia si estás en distritos o países remotos.

1. Política de devolución y cambio

Solo aceptamos artículos comprados en roymall.com. Si compras a través de nuestros distribuidores locales u otros minoristas, no puedes devolverlos con nosotros. Los artículos de venta final o regalos gratuitos no son aceptables para devolución.Para ser elegible para una devolución, tu artículo debe estar sin usar y en las mismas condiciones en que lo recibiste. También debe estar en su empaque original.Después de recibir las instrucciones de devolución de nuestra parte, por favor empaqueta tus artículos devueltos y deja tu paquete en la oficina de correos local o en otro servicio de mensajería.
Procesaremos tu devolución o cambio de artículo en un plazo de 3 a 5 días hábiles después de recibirlo. El reembolso se procesará y acreditará automáticamente en tu método de pago original.No se aceptan devoluciones ni cambios si el producto fue producido a medida, incluido tamaño personalizado, color personalizado o impresión personalizada.¿Necesitas más ayuda? Contáctanos. service@roymall.com o Whatsapp: +447549870296

2. Política de reembolso

Recibirás un reembolso completo o un crédito de tienda del 100% después de que recibamos y verifiquemos el paquete devuelto. El reembolso se procesará y acreditará automáticamente en tu método de pago original. Ten en cuenta que los costos de envío y cualquier impuesto o tarifa no son reembolsables. Los costos de envío adicionales no son reembolsables una vez que el paquete ha sido enviado. Eres responsable de pagar estas tarifas y no podemos exonerarlas ni reembolsarlas, incluso si el pedido nos es devuelto.Una vez que recibamos y confirmemos tu artículo devuelto, te enviaremos un correo electrónico para notificarte que hemos recibido tu artículo devuelto. También te notificaremos la aprobación o el rechazo de tu reembolso.Si tienes algún problema con el proceso de reembolso, contáctanos. service@roymall.com o Whatsapp: +447549870296
Note: This is a DIY kit, you need to assemble it.

>>>Manual: Click here to open<<<

Feature:
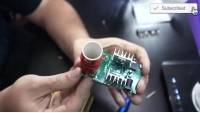
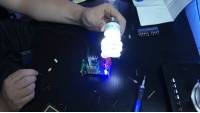
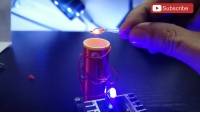
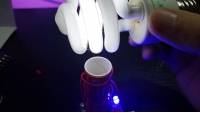
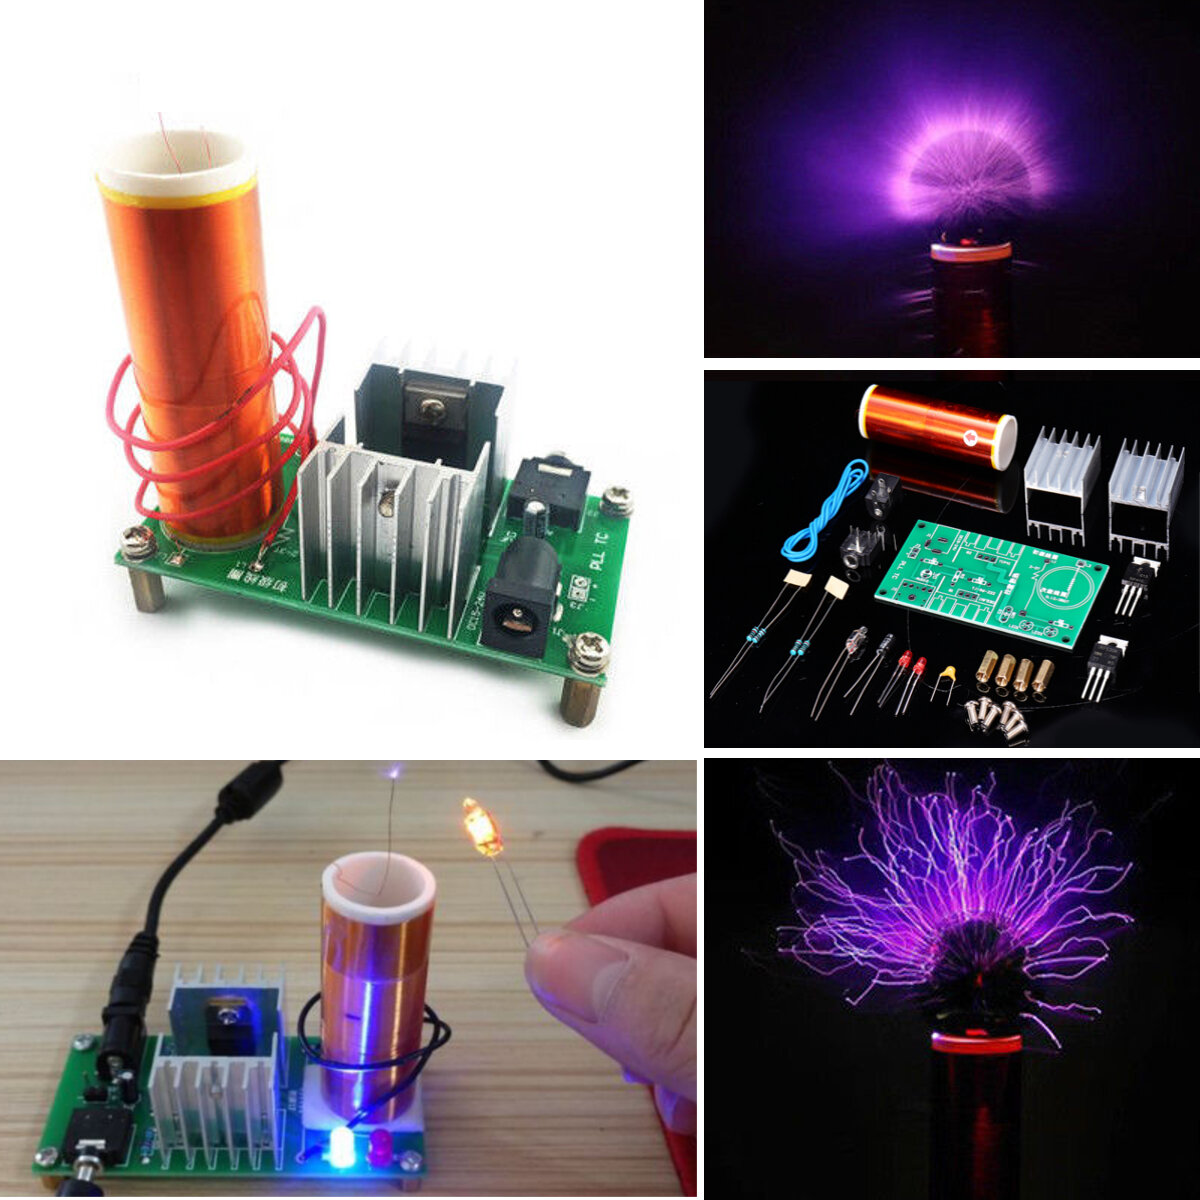
The Tesla coil can produce high temperature and high-pressure plasma, which can sing, ignition, wireless transmission, and light fluorescent lamp. It has a wonderful arc. It is a very interesting small production of scientific experiments. This is a DIY Tesla coil Kit parts, which needs to be soldered and assembled by yourself.
Parameters:
1. PCB size: 4.0mm*8.0mm
2. Power: 15W
3. Power input: DC 15-24V. The current is 2A. DC5.5 interface / pin
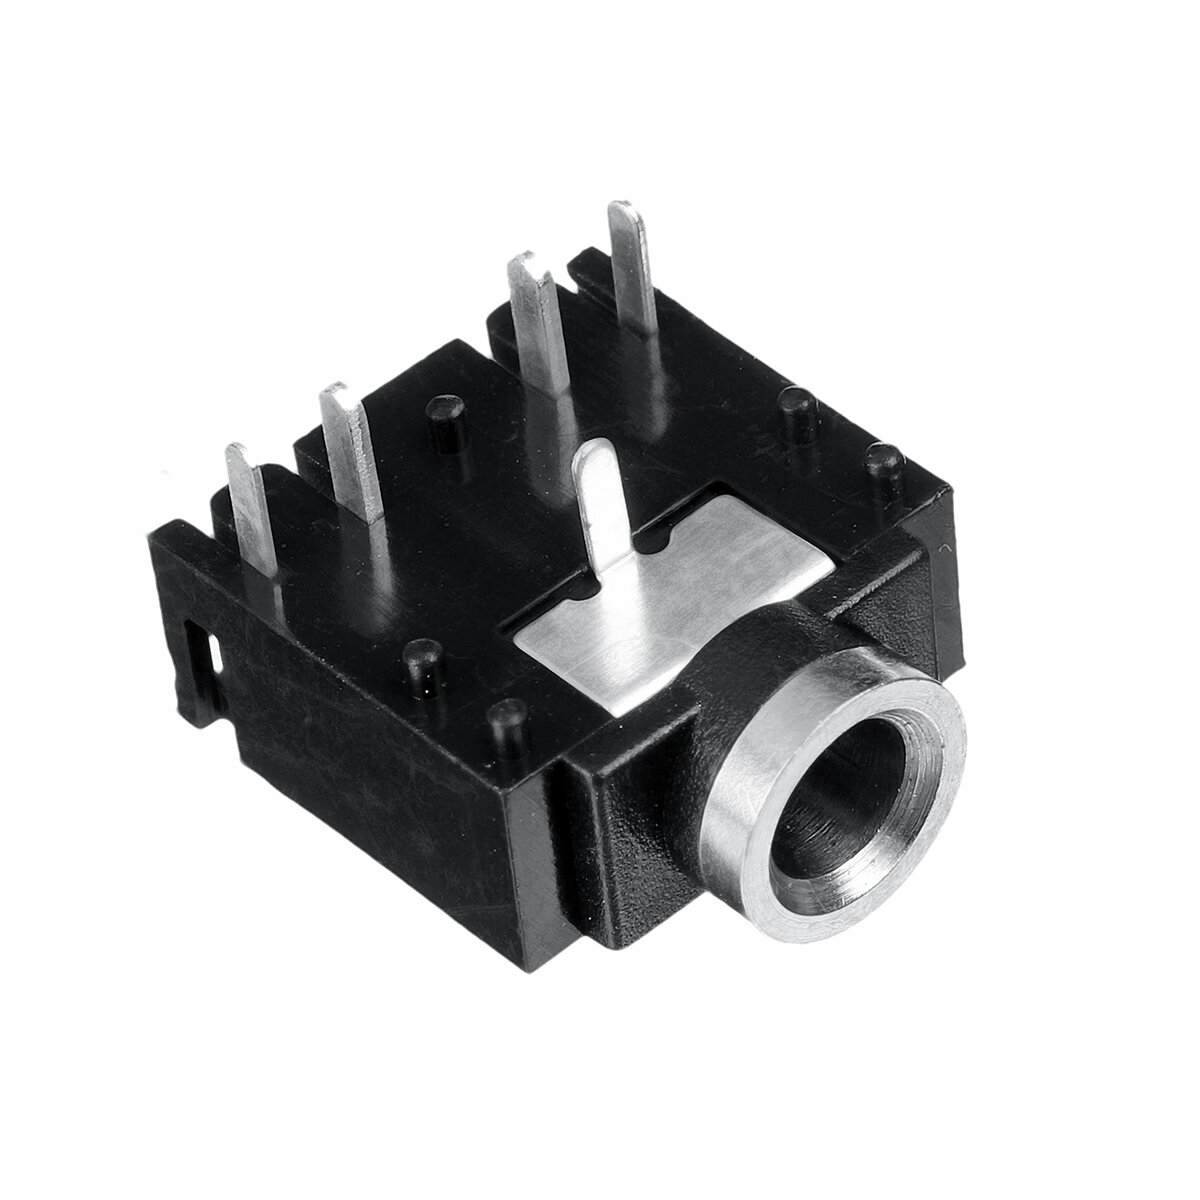
4. Audio input: 3.5 socket, can be connected to mobile phone, MP3, computer audio
Principle introduction:
Tesla coil is a transformer that operates on resonance principle. It was invented by Nicola Tesla, a Serbia American scientist in 1891. It is mainly used to produce ultra high voltage, but low current, high-frequency AC power. The Tesla coil is composed of two groups of resonant circuits (sometimes three groups) coupled. The Tesla coil is difficult to define, and Nicola Tesla has tried a large number of configurations of various coils. Tesla uses these coils to carry out innovative experiments, such as electrical lighting, fluorescence spectrum, X ray, high frequency alternating current phenomenon, electrotherapy, and radio energy transmission, transmitting and receiving radio signals.
Tesla function:
1. Electric arc function: the traverse of the rear end will produce an arc. The arc can also ignite.
2. Septum light function: after the Tesla coil is electric, the fluorescent lamp can be lighted apart.
3. Music playback function: a new concept loudspeaker for an electric arc to stimulate air to make air vibration produced by plasma. You can play mobile/computer music, but the sound is small.
Installation steps:
Tips:
1. Install small components at first;
2. Install complex components preferentially;
3. Pay attention to the installation direction of components.
4. Make sure the soldering iron does not touch the components for a long time. Otherwise it is easy to damage the components.
Note:
1. This product is safe, power is not high, will not be injured by electric shock, but it is not recommended to touch the top of the coil arc, there will be a sense of burning.
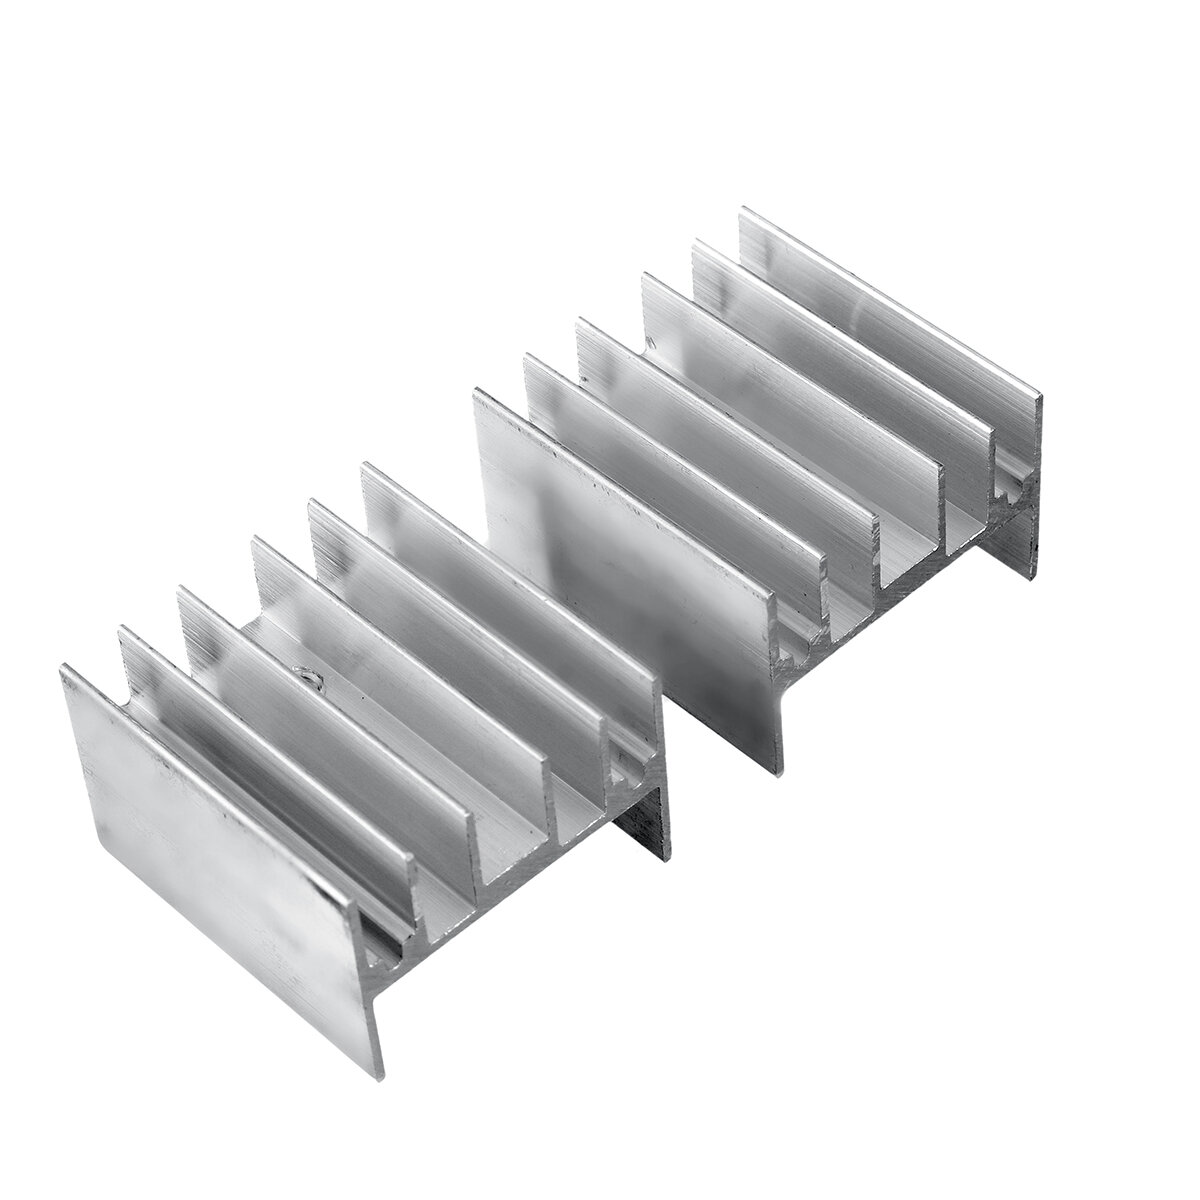
2. Do not touch the heat sink after a long time power supply, the temperature is very high, especially the use of 24v high voltage heat huge, if necessary, add their own cooling fan cooling, or working hours lead to too hot, please turn off for a period of time Electric use.
3. Tesla coil is recommended to work when the body or other objects close to the coil, the coil next to half a meter blank can not be other objects, as other objects as a good conductor will make the coil form a good loop, absorbing the coil energy, making Testers Pull the coil at this time the effect of demonstration or deterioration can not be demonstrated!
4. Do not put cell phones, mp3 and other electronic equipment close to the coil, or the coil will produce high-frequency magnetic field interference, making mobile phones, mp3, and other equipment failure or damage!
Note:
1.The real color of the item may be slightly different from the pictures shown on website caused by many factors such as brightness of your monitor and light brightness.
2. Please allow slight deviation for the measurement data.
3. Please allow 1cm-2cm error due to the hand measurement .

Package includes:

1 x DIY Tesla Coil Module Kit

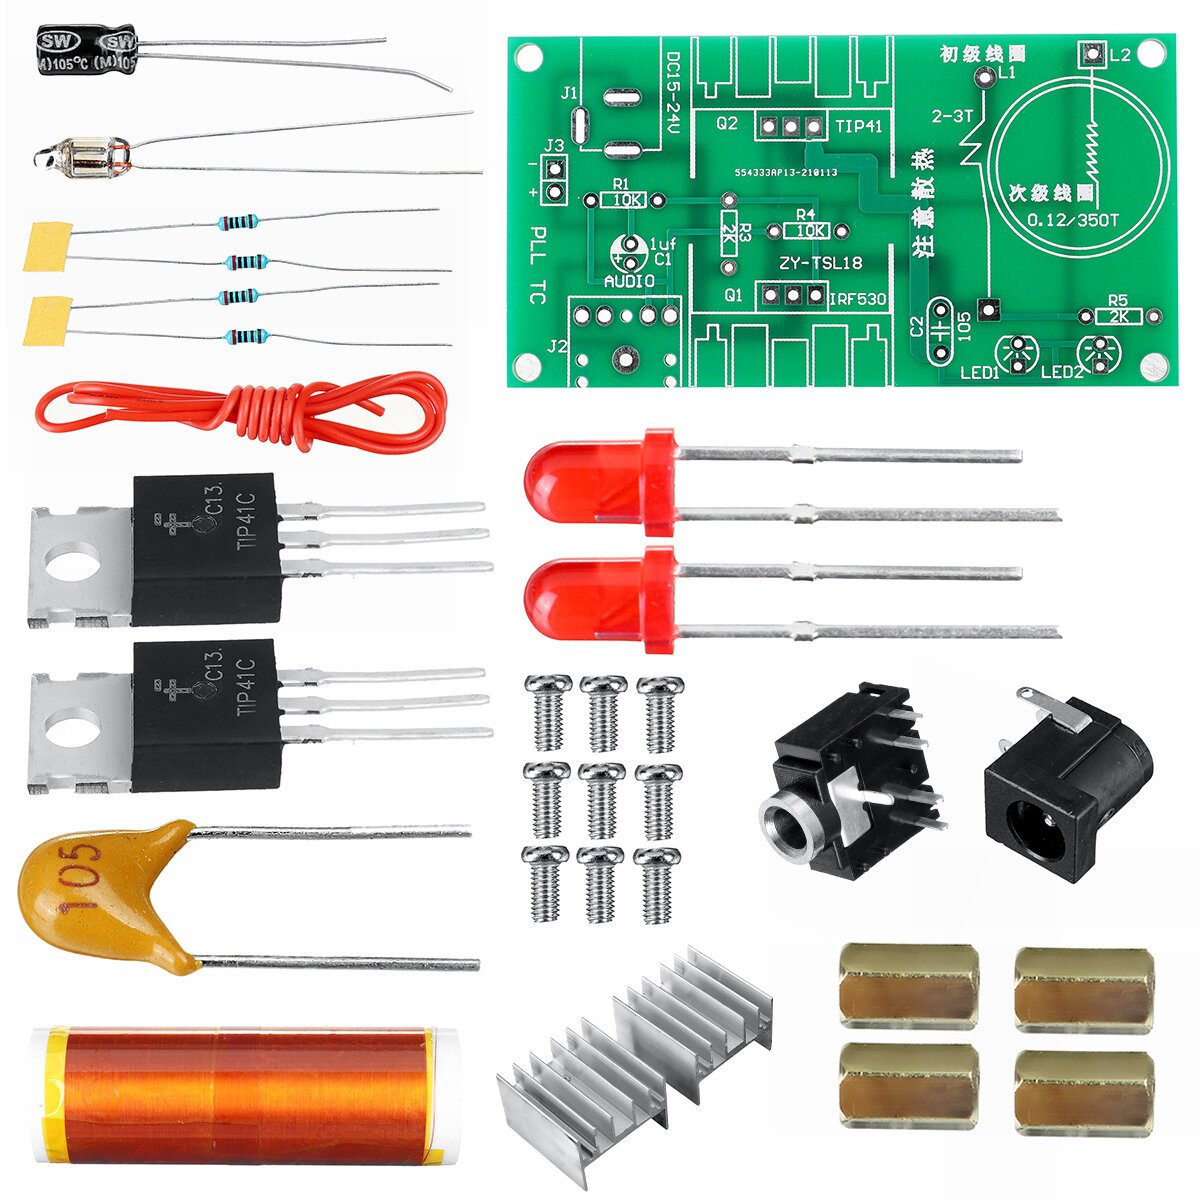
NO.Component NamePCB markerParameterQTY.
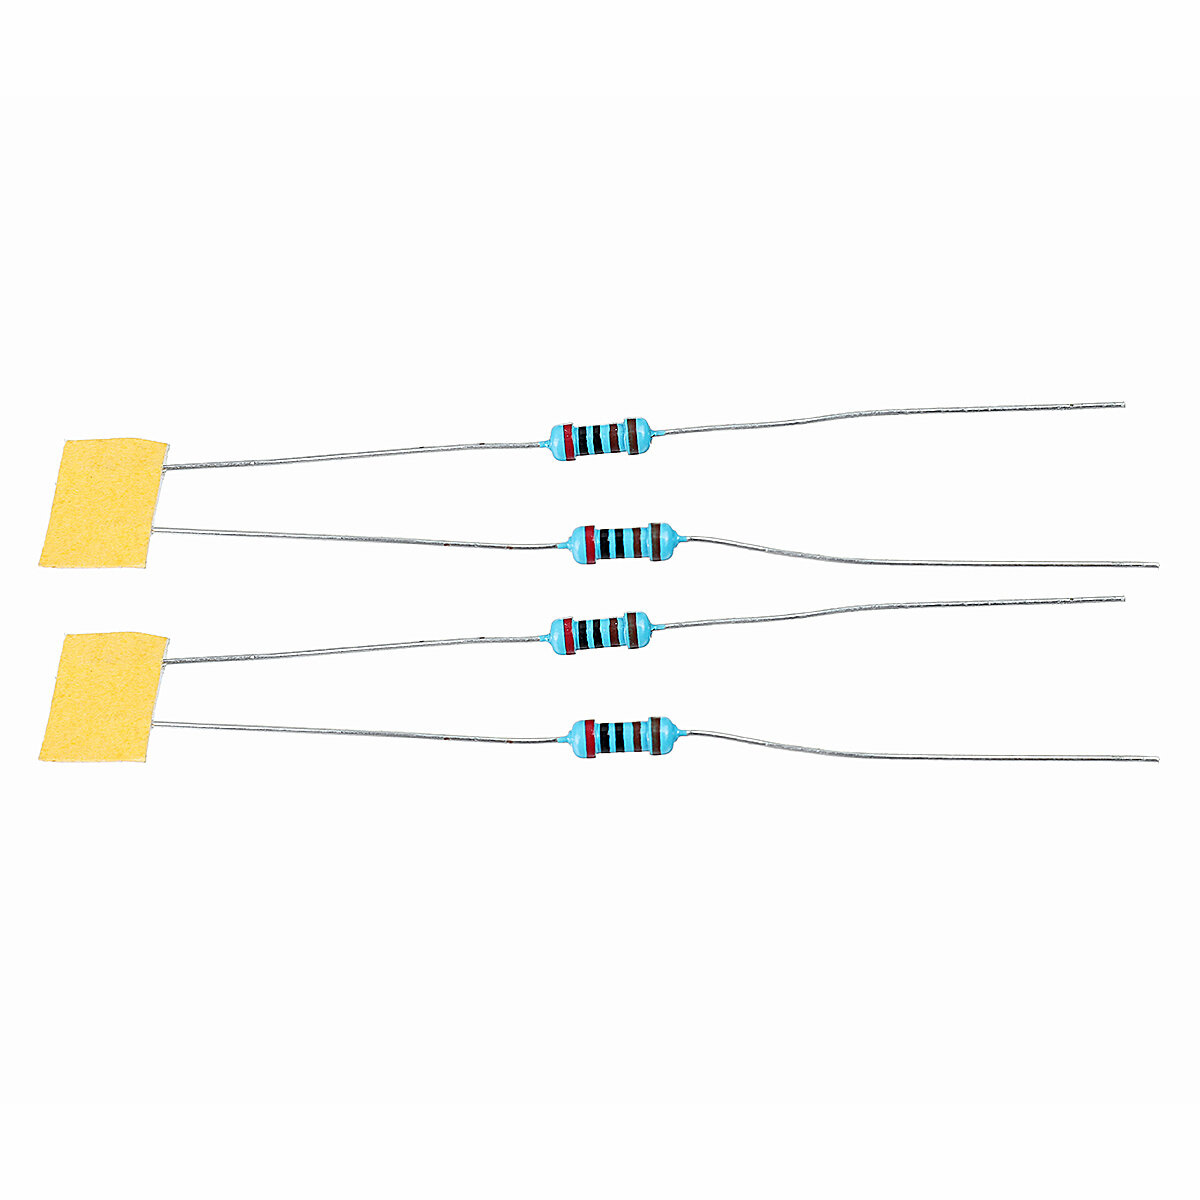
1Metal film resistorR1, R410K2
2Metal film resistorR3, R52K2
3TIP41Q2/1
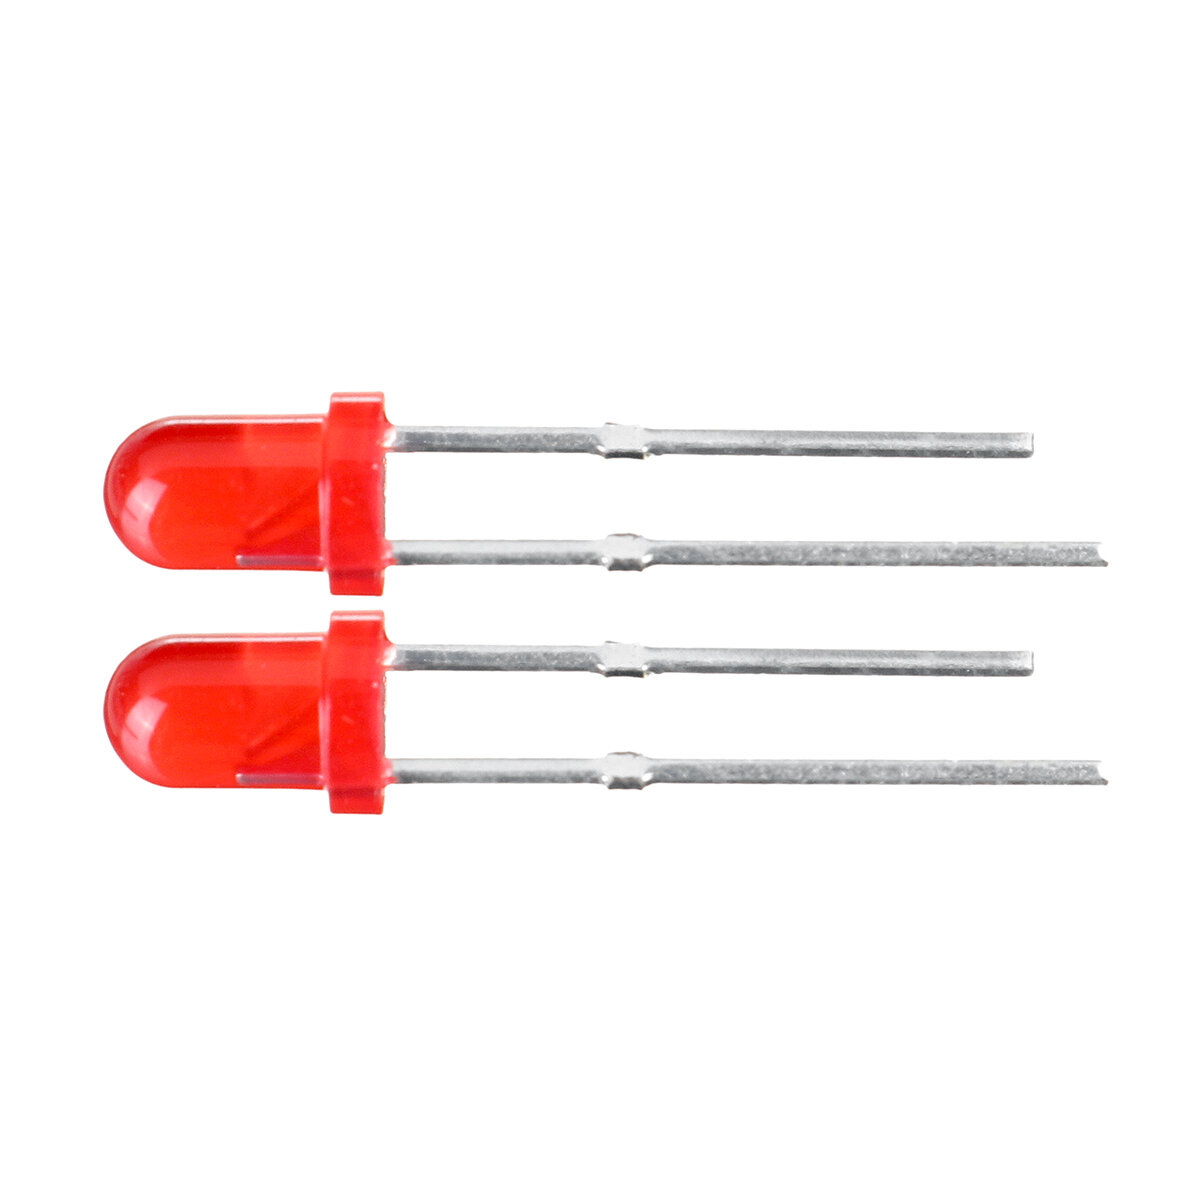
4LEDLED1, LED23mm2
5Audio socketJ2/1
6Electrolytic capacitor1ufC11
7IRF530Q1/1
8Power socketJ15.0*2.1mm1
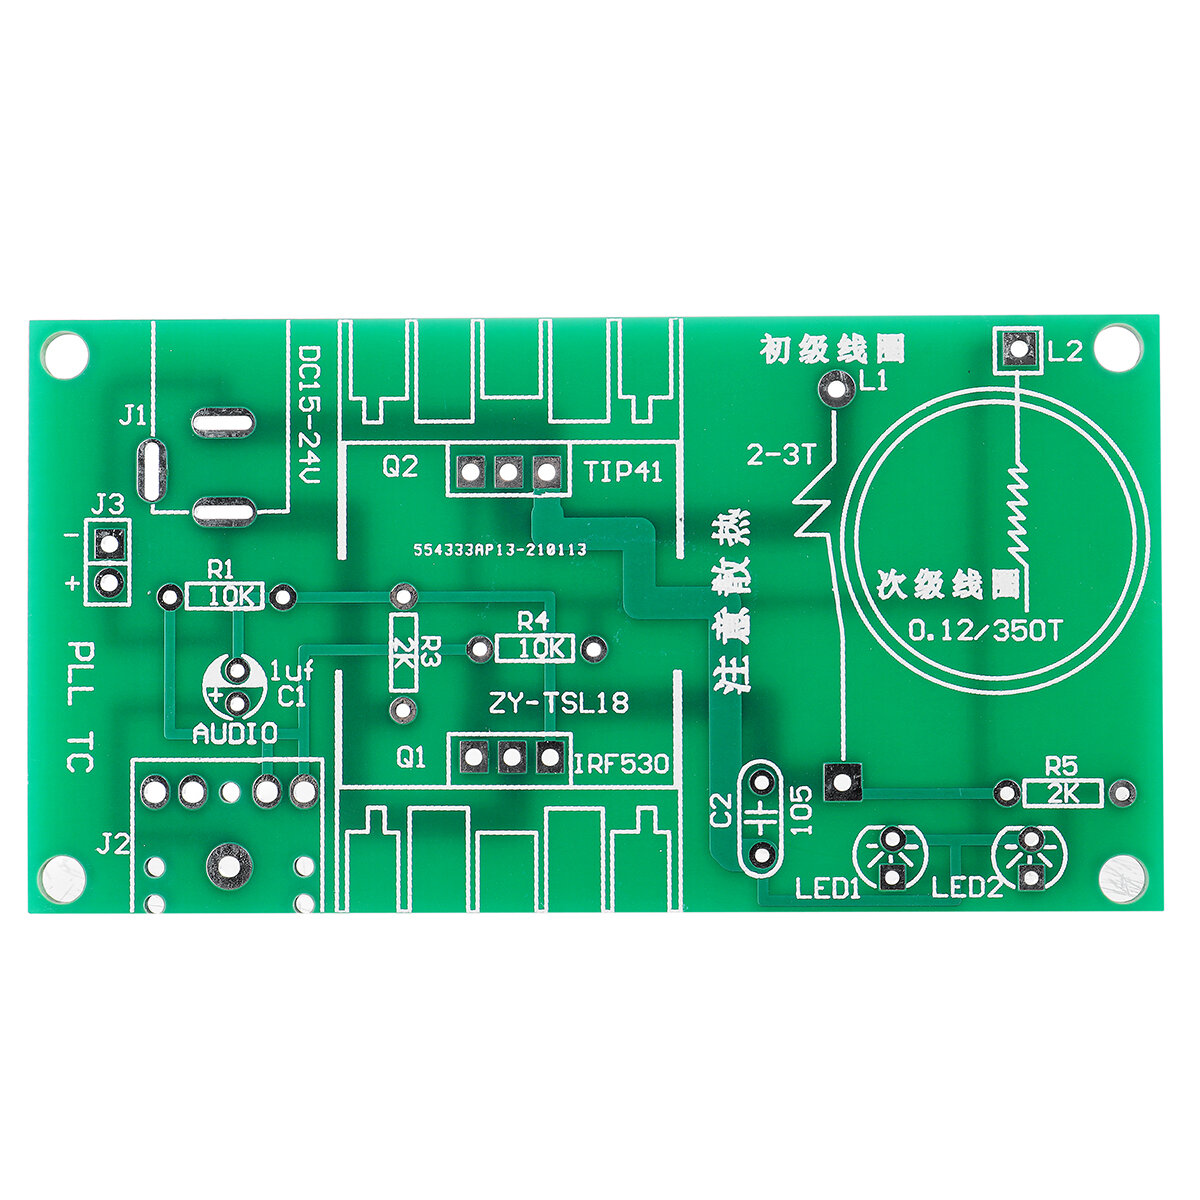
9Primary coilL12-3T1
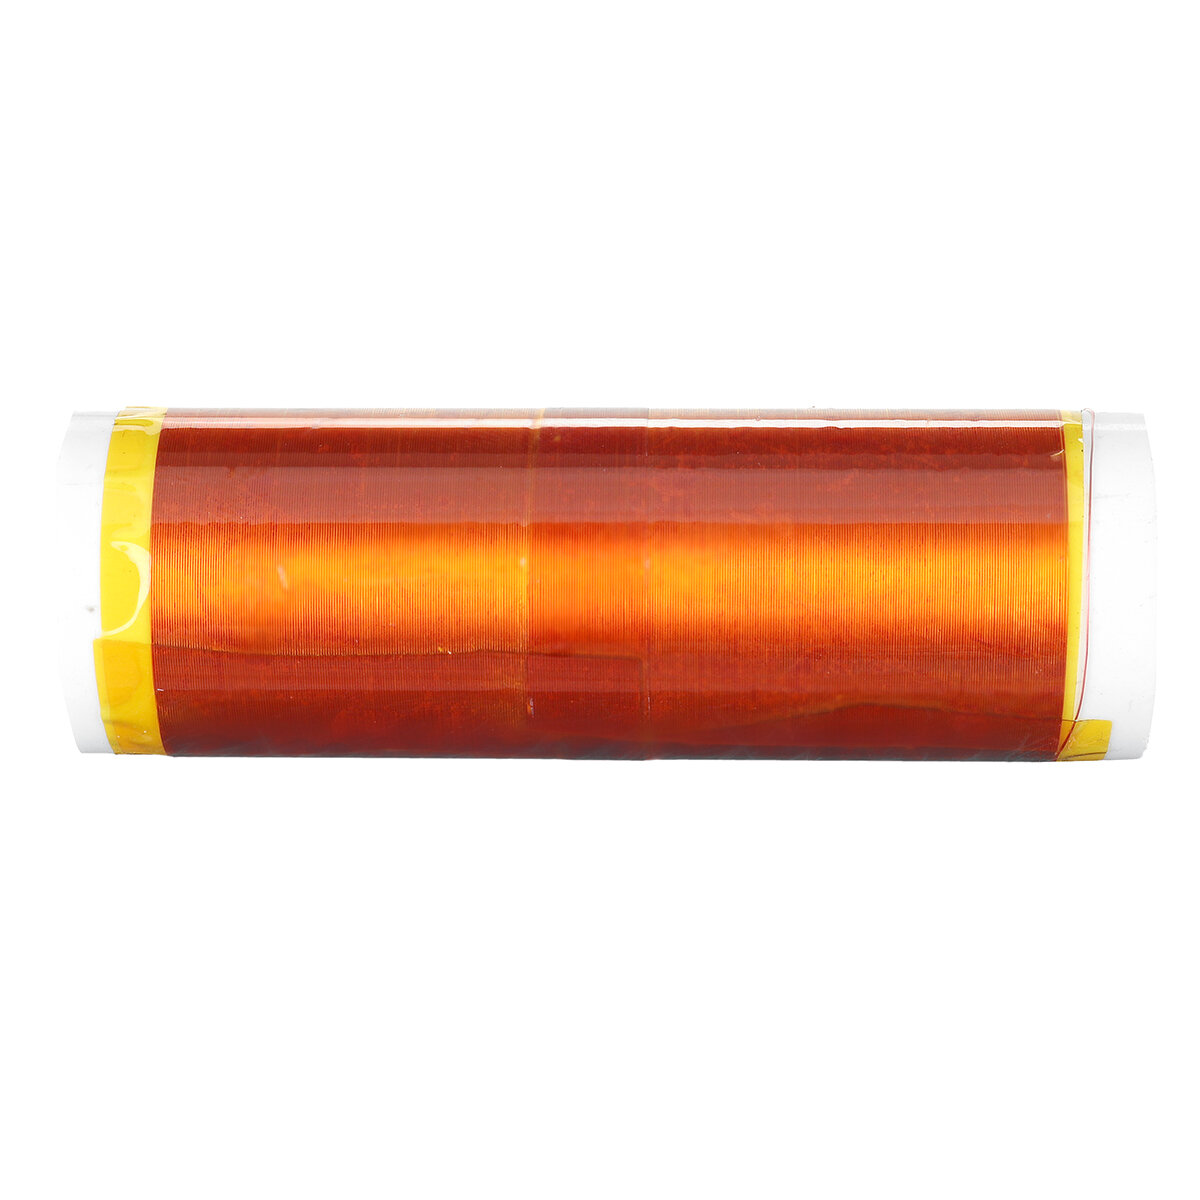
10Secondary coilL2350T1
11Copper pillar/M3*104
12Screw/M3*64
13Heat sink//1
14PCB/40*76mm1


Comprar con Paypal
Electronics Ranking
Módulo de bobina Tesla mini DIY Geekcreit® sin ensamblar, 15 W CC, 15-24 V, 2 A, kit electrónico de altavoz de plasma

Módulo de bobina Tesla mini DIY Geekcreit® sin ensamblar, 15 W CC, 15-24 V, 2 A, kit electrónico de altavoz de plasma

Módulo de bobina Tesla mini DIY Geekcreit® sin ensamblar, 15 W CC, 15-24 V, 2 A, kit electrónico de altavoz de plasma

Módulo de bobina Tesla mini DIY Geekcreit® sin ensamblar, 15 W CC, 15-24 V, 2 A, kit electrónico de altavoz de plasma

Módulo de bobina Tesla mini DIY Geekcreit® sin ensamblar, 15 W CC, 15-24 V, 2 A, kit electrónico de altavoz de plasma

Módulo de bobina Tesla mini DIY Geekcreit® sin ensamblar, 15 W CC, 15-24 V, 2 A, kit electrónico de altavoz de plasma

Módulo de bobina Tesla mini DIY Geekcreit® sin ensamblar, 15 W CC, 15-24 V, 2 A, kit electrónico de altavoz de plasma

Módulo de bobina Tesla mini DIY Geekcreit® sin ensamblar, 15 W CC, 15-24 V, 2 A, kit electrónico de altavoz de plasma

Módulo de bobina Tesla mini DIY Geekcreit® sin ensamblar, 15 W CC, 15-24 V, 2 A, kit electrónico de altavoz de plasma

Módulo de bobina Tesla mini DIY Geekcreit® sin ensamblar, 15 W CC, 15-24 V, 2 A, kit electrónico de altavoz de plasma

Customer Reviews

4.80 out of 5
See all 1621 reviews
Write a Review
  • All Reviews (1621)
  • Image ( 2 )
  • Video (0)
  • All Star
    • All Star(1621)
    • 5 Star (2)
    • 4 Star (0)
    • 3 Star (0)
    • 2 Star (0)
    • 1 Star (0)
Sort by:
Top Review
  • Top Review
  • Most Helpful
  • Most Recent
Reviews only from your country (United States)
|
Show Original

A part of the review has been auto-translated.

  • 28/11/2019

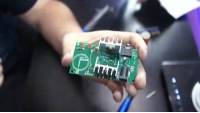
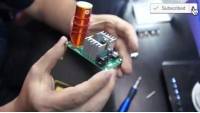
    It only took me about 30 minutes to put together. Make sure you pay attention to the polarity of the capacitors and LEDs when you install them. Also, there are 2 different types of MOSFETs in the kit and the PCB will be labeled with where each one goes.

    The pictures in the BangGood listing are pretty misleading as there is no electricity shooting out of it once it’s built as shown in the picture. I tried it from 3 volts all the way to 24 volts and, while things do change at different voltages, there’s still no electrical light show like they make you believe.

    I also wanted to get this to help me practice soldering and, since this only has a few pieces in it, it is a pretty good kit to start with.

    I made a full video about it here: https://www.youtube.com/watch?v=_eMg0dcVrHg
    Comments (9)
    Show Original
  • 14/11/2020

    Works as stated. The blue spark is very tiny but the luminescent bulb lights up spectacularly. You can present it like a nice trick to the kids. I have added a thermo-silicone paste between the transistors and their heat sinks. And finally I put a small fan from an old video-card - no worry to burn out the transistors even at 25 V.

    Comments (4)
    Show Original
Show:
    12...30

    Total 0 pages

    Go to page

    Go
    Customer Q&As
    Can't find your answer? Ask a new questionorCustomer Service

    Tips:For questions about your order, place of delivery, product discount, taxation, delivery time, warranty, shipping, payment, exchange rate, and other questions unrelated to the product, please contact customer service.

    showing 1-30 of 46 |
    Show Original

    A part of the QA has been auto-translated.

    • 0
      Q: Debug Tips: I have to red LEDs on and nothing happening. Voltage measurement points? Does direction of primary wire matter?
      A:
      Hello all does anyone have a wiring diagram in English? my kit is Chinese and I can't read Chinese I'm an Australian and would really appreciate an English translation,thank you kindly regards Keith
      Answered by gunny66 on 05/10/2019Helpful (0)
    • 0
      Q: Hello everybody, I bought this kit and I can't find out how to assemble the LEDs, I know the long legs should go to the positive and the shorter leg to the negative but I don't know which way around to assemble them onto the PCB please help.
      A:
      Positive (longer lead) goes to hole with square solder pad on PCB. Same for capacitors, pin sockets, and other polarised devices like diodes.... square pad = Pin 1 = Positive.
      Answered by Coops on 05/11/2020Helpful (0)
    • 0
      Q: Donde puedo conseguir el adaptador de corriente para alimentar la bobina???
      A:
      I was got eu plug
      Answered by BG181841414 on 08/03/2022Helpful (0)
    • 0
      Q: Do you need to have a sautering iron to make it?
      A:
      yes this needs soldering you'll also need to buy a mosfet insulation kit as it's not supplied with the kit and can cause arching without it
      Answered by jron48 on 13/06/2021Helpful (0)
    • 0
      Q: Does it have to be soldered or can the parts be assembled on a circuit board?
      A:
      Soldered.
      Answered by BG142333145 on 06/12/2021Helpful (0)
    • 0
      Q: Do you have a install manual?
      A:
      just check out you tube, lots of guides there.
      Answered by abacabie on 05/04/2020Helpful (0)
    • 0
      Q: How did you get the round purple glow in the images?
      A:
      You have to put a metal ball and have a sufficiently powerful power supply
      Answered by Piscase on 17/07/2021Helpful (0)
    • 0
      Q: do you need code to work ?
      A:
      No need
      Answered by BG422325541 on 11/03/2022Helpful (0)
    • 0
      Q: I want the coil and heater by indication. Do you have both?
      A:
      you have to provide your own power source. I have used old laptop power supplies. if you use a 24volt laptop supply you should add a small fan to cool the FET's
      Answered by Astrobuf on 14/12/2022Helpful (0)
    • 0
      Q: Can i touch the terminal?
      A:
      Yes, but don't stay too long
      Answered by Piscase on 17/07/2021Helpful (0)
    • 0
      Q: Do you sale a compatible small cooling fan for this kit? Thanks for your help!
      A:
      Depending on the supply voltage, You can use a cooling fan from an old computer (CPU, graphics card or power supply). Perhaps two identical in series.
      Answered by HaJoW on 12/01/2022Helpful (0)
    • 0
      Q: does not turn on does nothing
      A:
      Unfortunately I cant answer now
      Answered by CarManBy on 10/03/2022Helpful (0)
    • 0
      Q: how is it as a negative ion generator?
      A:
      its not real strong
      Answered by Jerry Baker on 30/01/2024Helpful (0)
    • 0
      Q: Puedo usar un adaptador de 12v??
      A:
      no
      Answered by Jerry Baker on 30/01/2024Helpful (0)
    • 0
      Q: Is there a simple way to make this work standalone without audio input? if not, what is best frequency and duty to feed it via pwm for max output?
      A:
      You have to use a 24v power supply to get a plasma arc
      Answered by Piscase on 17/07/2021Helpful (0)
    • 0
      Q: I need instructions in English please
      A:
      english instruction : use google translate app and press camera button for instant translate. it says some info about tesla and resistors. also the left led is only lit when coils are connected wrong direction or resonation failure.
      Answered by da_jojo on 26/01/2020Helpful (0)
    • 0
      Q: How many turns are there on the secondary coil?
      A:
      It's printed on the PCB. 0.12-350T (350 Turns of 0.12mm² wire).
      Answered by Coops on 05/11/2020Helpful (0)
    • 0
      Q: WHAT DOES IT DO?
      A:
      ... It's a Tesla coil...
      Answered by borlospeter on 17/08/2022Helpful (0)
    • 0
      Q: while I get a tiny spark the first LED does not light up (it is correctly oriented). Any ideas?
      A:
      same here
      Answered by jjones353535 on 21/03/2022Helpful (0)
    • 0
      Q: is adopted include in this set?
      A:
      N0
      Answered by Jerry Baker on 28/04/2023Helpful (0)
    • 0
      Q: What is J3? What to do with that one? Thanks
      A:
      I do n't know
      Answered by Cacá Bicalho on 31/10/2023Helpful (0)
    • 0
      Q: Doesn't work. The 2nd LED doesn't light on, there are no shorts and everything is soldered properly, I've checked the resistance and both coils seem to function. The 2nd transistor heats up very quickly. Using 19V
      A:
      nevím
      Answered by PatrikNovotny on 13/01/2022Helpful (0)
    • 0
      Q: I've put everything onto the board, I've checked many times but I don't see any error in my assembly but it doesn't work. Led 2 lights up but not led 1 and there is no electric arc, help me please.
      A:
      needs audio input and the thin wire of coil needs to be scraped the insulation before solder it
      Answered by da_jojo on 26/01/2020Helpful (0)
    • 0
      Q: what type of light is the third one? you have two LEDs and one yellow glowing thing, whats that?
      A:
      neon
      Answered by bang on 05/05/2019Helpful (0)
    • 0
      Q: how much voltage does it produce?
      A:
      24V
      Answered by BG418133423 on 01/11/2021Helpful (0)
    • 0
      Q: Is the product in Brazil??
      A:
      Das ändert sich immer wieder mal wo die Produkte lagernd sind. Wenn bei "Versand von" Brasilien als Auswahl möglich ist dann kann es auch von hier verschickt werden. Sonst nicht.
      Answered by Zerbastian on 23/10/2021Helpful (0)
    • 0
      Q: I've been buying this kit for a while and I can't find any information to assemble it. Does anyone know a video or PDF to mount it?
      A:
      ok
      Answered by PatrikNovotny on 06/12/2021Helpful (0)
    • 0
      Q: My transistor TIP41C is burning when I am connecting power to it power is 24v 2amp smps
      A:
      same happened to me after 15secs of usage :'). make sure to have heatsinks on it otherwise it goes like mine haha
      Answered by BG824209756 on 27/08/2020Helpful (0)
    • 0
      Q: I need assembly directions in English like many others with out directions it has no value
      A:
      Read the description above. Look for the red &gt;&gt;&gt;Manual: Click here to open&lt;&lt;
      Answered by HaJoW on 12/01/2022Helpful (0)
    • 0
      Q: can you add a plastic case?
      A:
      Ok..
      Answered by luihlg on 09/01/2023Helpful (0)

    Mi carrito Carrito (1610)
    Mis favoritos Mis favoritos (0)

    Roymall Service